I did a Marilyn look for List No. 6, "Max Bimbo" which turned out pretty well (check out the Gallery if you are curious). I focused mostly on makeup, dress, and accessories for that one. Of course, I looked high and low for an authentic "Marilyn" wig, but such a wig doesn't seem to exist. I did find a very nice "Marilyn-like" wig. Since I knew almost nothing about styling hair back then, I was stuck with whatever the wig maker/factory had available. The look turned out well. I had fun with it, and Dom loved it, and that's the most important thing. But I've always wished I could have had a more authentic look to the wig.
Now I know a bit more about hair styling and have completed a few challenging efforts acceptably, I decided to try to recreate that look but restyle the wig to be more like what Marilyn might have worn. It turned out pretty well, and Dom loved it. That was great but resulted in a command to share how I did it with you. With her, I always do as told. But a word of warning: I found this very complicated. I wouldn't suggest this for your first styling project.
Basics
While there is almost too much information on the net about makeup, info about hair styling is hard to come by. The information that is easily available either doesn't apply to wigs, or it doesn't apply to the kind of classic styling I was interested in doing. So first, here's a quick summary of wig setting basics that took me a lot of work to collect. It should save you quite a bit of time.
Wig Roller Setting Basics
The way to style synthetic wigs is with heat. Synthetic hair doesn't respond to water or other products like human hair. Most good wigs sold today will be able to handle the heat from steam (which I use for setting the wigs), but it's best to check. You don't want to end up with a melted plastic mess.
I use a large plastic shopping bag (if there is printing on the bag, make sure it isn't on the side that will touch the wig, as the printing could come off on the wig!) and a conventional steamer designed for steaming clothing. Cover the wig with the bag, and then steam each side for 10 seconds, making sure the steam heats all the curlers. Leave it for a minute or so, then remove the bag. If you have a hair salon-style dryer, you can dry it that way. I don't, and you probably don't, either. So you will need to let the wig sit for a couple of days, so it is completely dry before taking the rollers out.
Rolling
I like wire mesh rollers. They are flexible and allow plenty of airflow. I got mine from BobbiePinz.com (UPDATE: the ones I used are no longer available, these are substitutes.) but you can buy them anywhere. Bobbie's prices are good, but I find he often runs out of sizes. If you can't get them from him, you can get them from Amazon or other places. "Diane" is the brand I've been using and am happy with. You'll also need some pins. The traditional wig pins are the "T" pins, but I hate those. The hair catches in the wire top of the 'T,' and you spend more time untangling hair than you do setting it. I love the big Pearl head pins that you can also get from BobbiePinz.com.
I also like to use endpapers. These are thin sheets of paper that you wrap around the ends of the hair to keep them together under the roller. These give a nicer finish to the ends of the hair, preventing them from forming "fish hooks." You don't need them, but you must spend extra time tucking the ends in with the end of your comb. I recommend them. Once again, BobbiePinz.com carries these.
To roll hair onto the roller, first, use the roller to measure out a section of hair slightly narrower than the length of the roller and about as wide as the diameter of the roller. Not wider or longer. Section it cleanly (the handle of a tail comb is handy for this) and brush it, so it isn't tangled. Take an end paper, and place the hair on it (the long end of the paper running in the same direction as the hair). Fold it over the hair and then squirt lightly with water to keep it together. You want the endpaper to be on the ends of the hair, but it's easiest to wrap it a bit lower down, then slide it up to cover the ends, rather than try to wrap the ends directly. Then roll the hair onto the curler, keeping the tension on the hair, and fasten the roller to the wig block with two pearl head pins.
Bases
The "base" of the section is where the hair comes out of the wig cap. Typically this will be rectangular (but it can be other shapes). How the roller sits on the base is important. There are three positions a roller can land in: On base , where the roller sits directly on top of the rectangle. Half-off base is where the roller covers only 1/2 of the rectangle. Off base is where the roller is completely off the base, sitting right next to it. You will get the most volume and curl when the roller is "on base," which makes sense since all the hair is in the roller. For this wig styling, all the rolls should be on base, and all the bases should be rectangular.
There's a bit of a trick to getting a roller "on base ."You might think that holding the roller directly above the base (so the hair forms a 90-degree angle with the cap) is the way to go, but this will get you half-off base. Instead, move the roller away from you, so the hair forms a 45-degree angle with the cap. That will result in a perfect "on base" roll. Pulling the hair at a 45-degree angle toward you will give you an off-base roll.
Most hair is rolled by putting the hair on top of the roller and then rolling it down. That will be true for most of the rolls on this style, except for the bottom of the wig, where we place the hair under the roller. The reason for this is to create more "lift" in the back of the wig.
Roller Size and Roller Position
The smaller the roller, the 'tighter' the curl will be. We use several sizes in this style. You can also place the rollers horizontally (length parallel to the ground) or vertically (so one end is pointing at the ground). Many modern roller styles use the vertical roller position but still comb the hair down, which has quite a beautiful effect, but for this vintage hairstyle, we will comb the hair in the direction we roll it. All the rollers (except those on the right side ) will be horizontal. The right side rollers will be vertical, and we will comb "sideways" on that side of the hair
The "Plan"
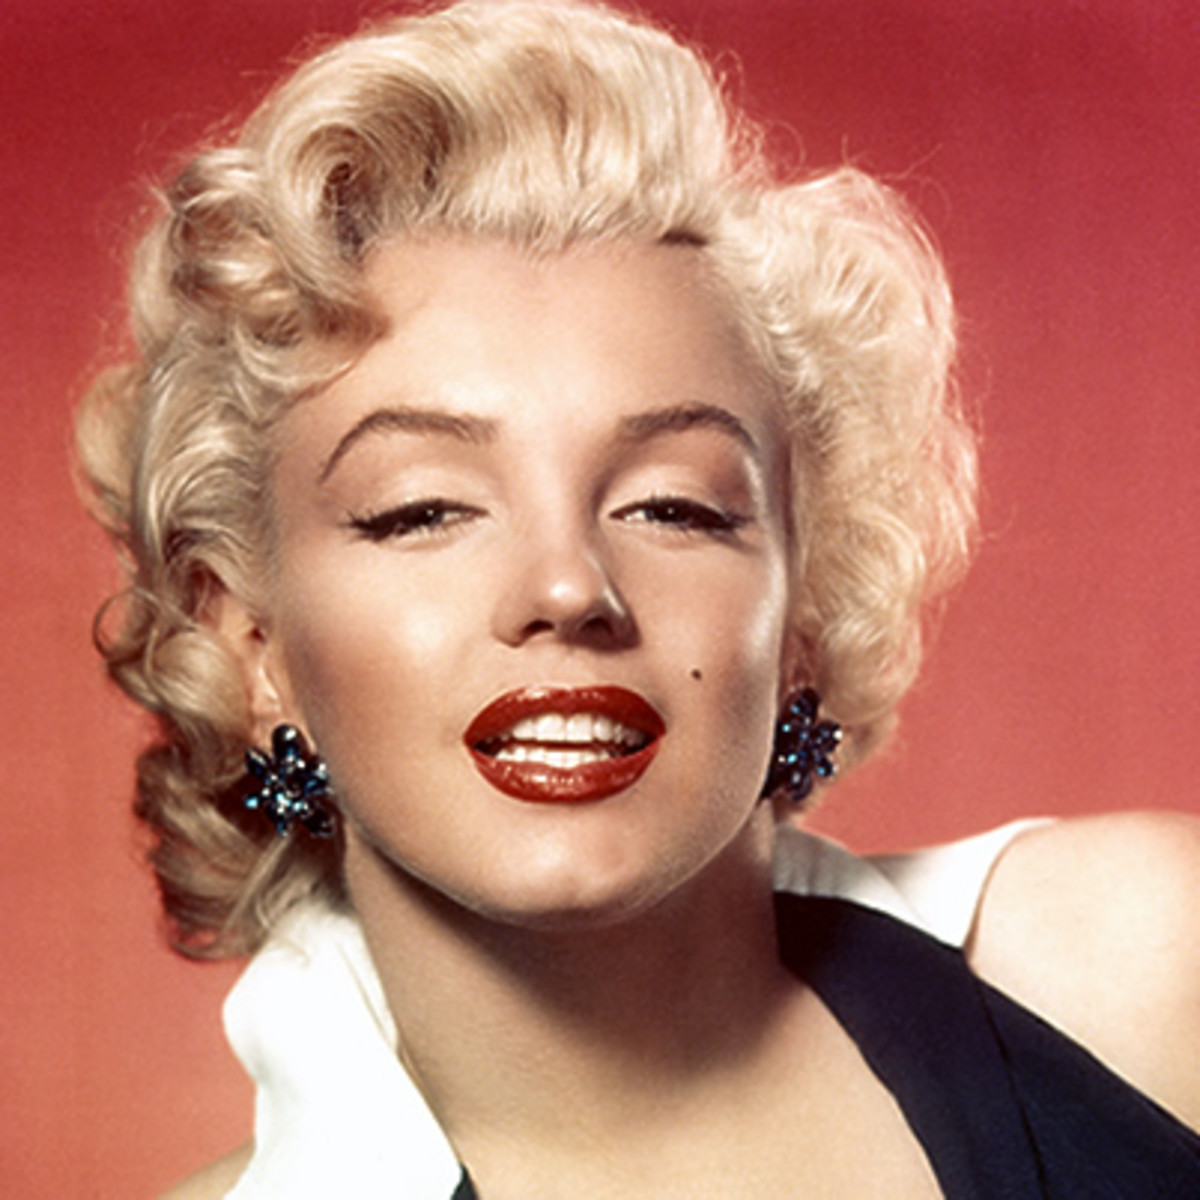
I examined many photos of Marilyn and created a sort of "combination" design using different elements I liked the most from her various hairstyles. The one I came up with is probably closest to this one:
I then sketched out a plan. 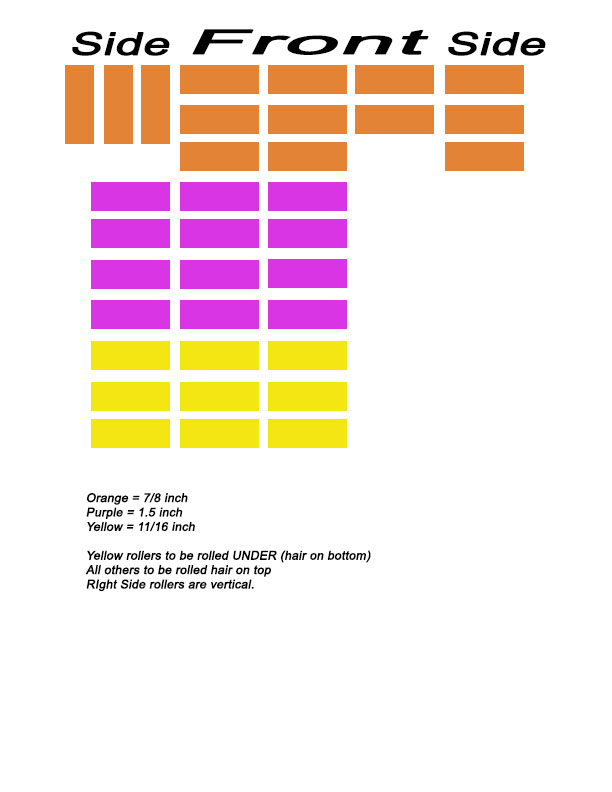 The colors in this "plan" correspond to the colors of the rollers that I own in their various sizes. The purple ones are the largest, the orange ones are in the middle, and the yellow ones are the smallest. I have no idea how "pros" design hairstyles, but this worked well for me. I realized I would have to improvise, but I could follow the basic plan. I used orange rollers for the front "lift" and sides. Larger rollers for the middle to give volume and finishing with small yellow rollers rolled "up" to give a lift to the bottom back of the wig pretty well. One unexpected "improvisation" is that I didn't have enough orange and purple rollers. You'll see in the actual photos of the roller set that I substituted some other rollers which were quite close in size. Meanwhile, I've ordered more for next time.
The "Execution"
The Rollers
I was through with all the homework and planning; it was time to start. The first step is to block the wig, attaching it securely to the wig block, so it won't move around or damage the lace. The wig had its own "set" from the factory, which I removed so I could replace it with my own. I did this by steaming it. That's a slightly complicated process that deserves an article (or even a video) on its own. After I steamed it, I had a lovely, straight hair wig.
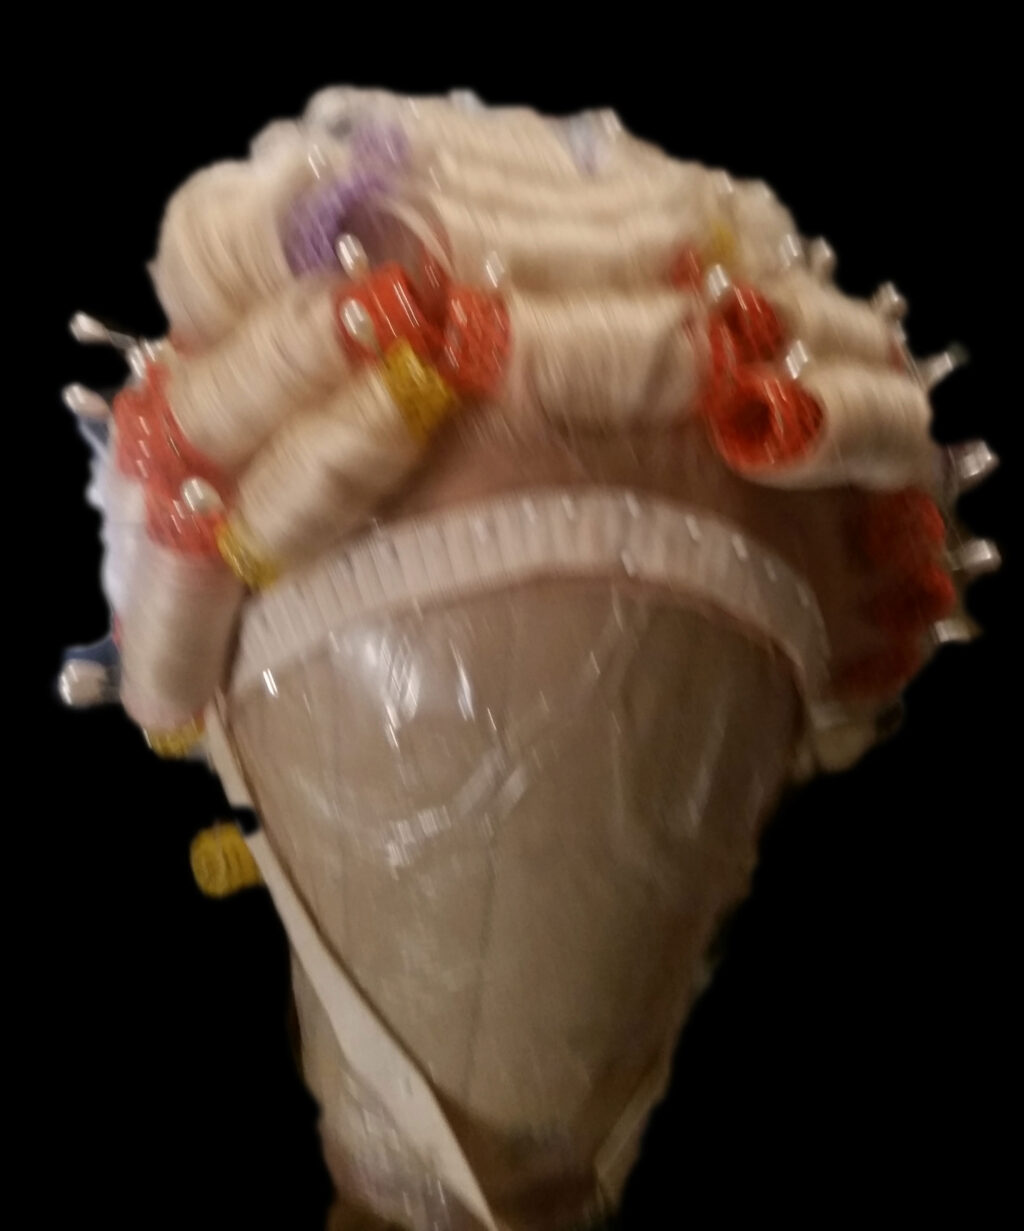
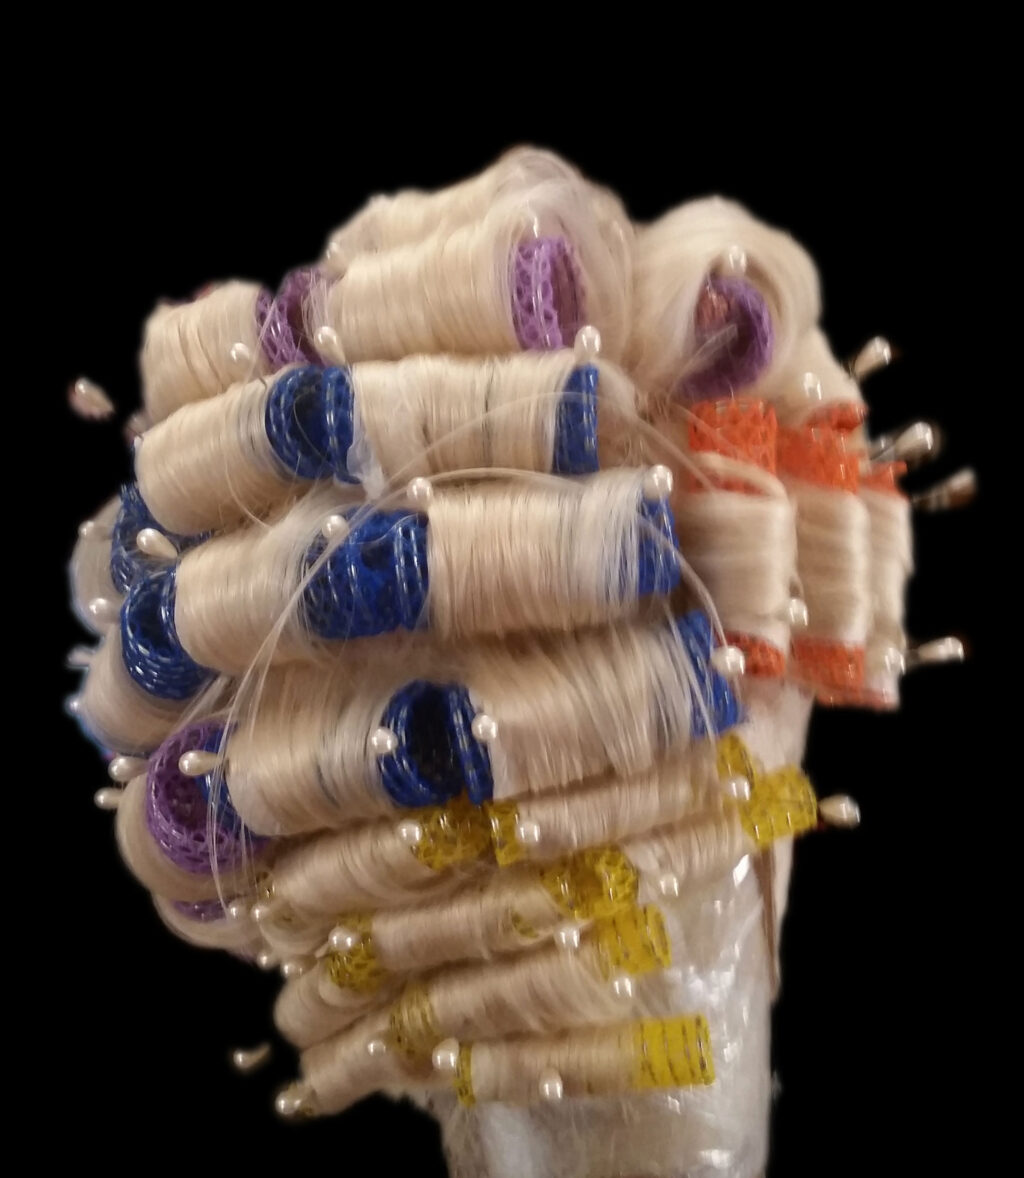
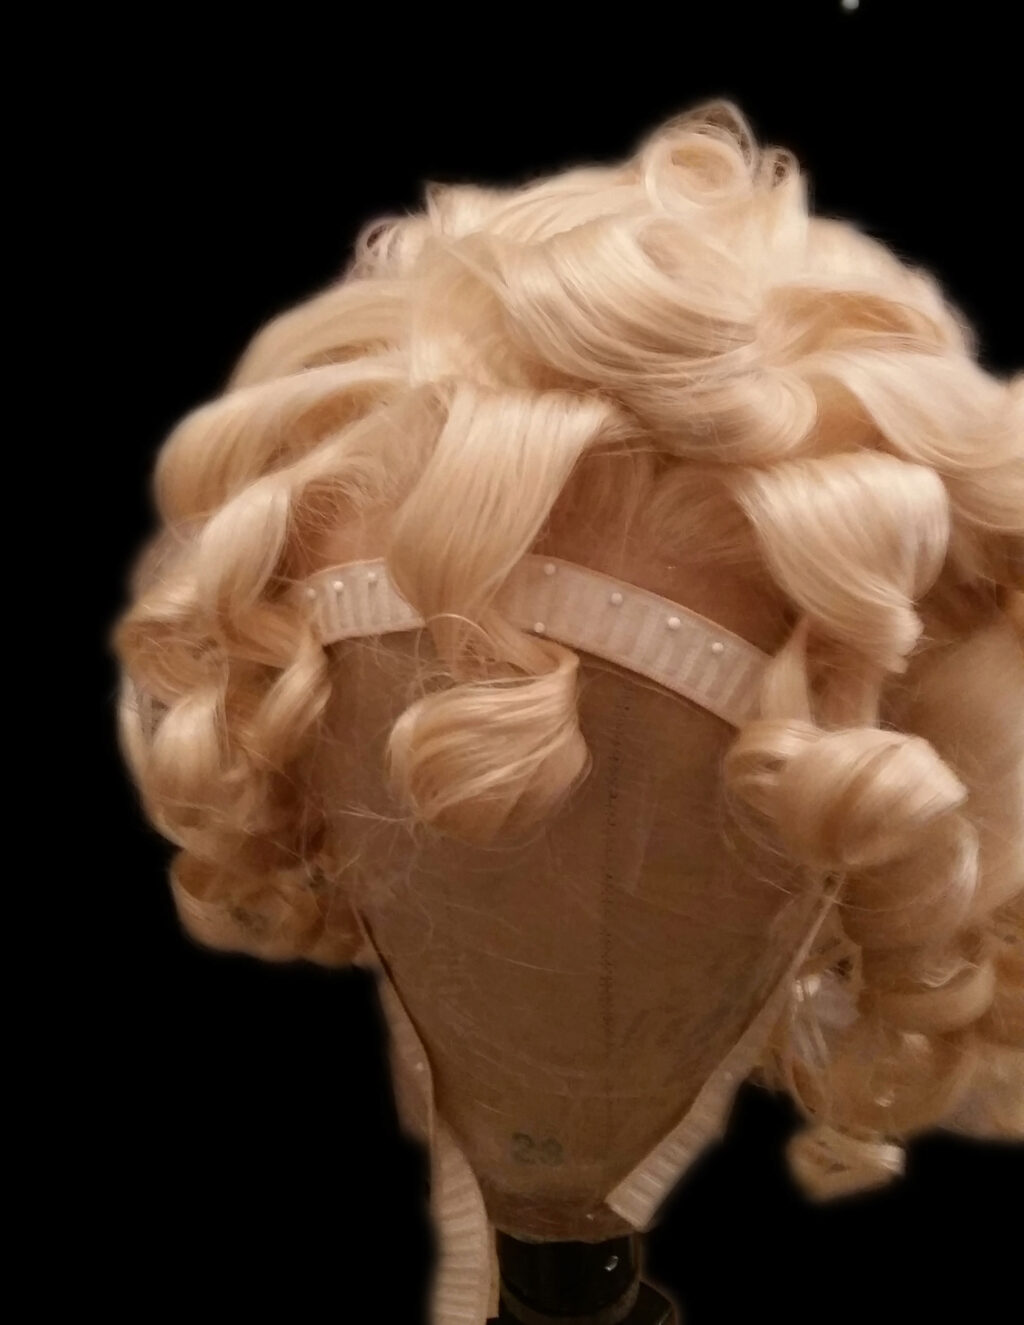
I then sectioned off the hair, placing the left and right sides in alligator clips. I rolled the hair with the three front orange rows and then the left side. I then put in the lavender rollers and the right side "vertical" rollers. Finally, I finished with the yellow rollers. Here are some photos of the finished set from various angles.
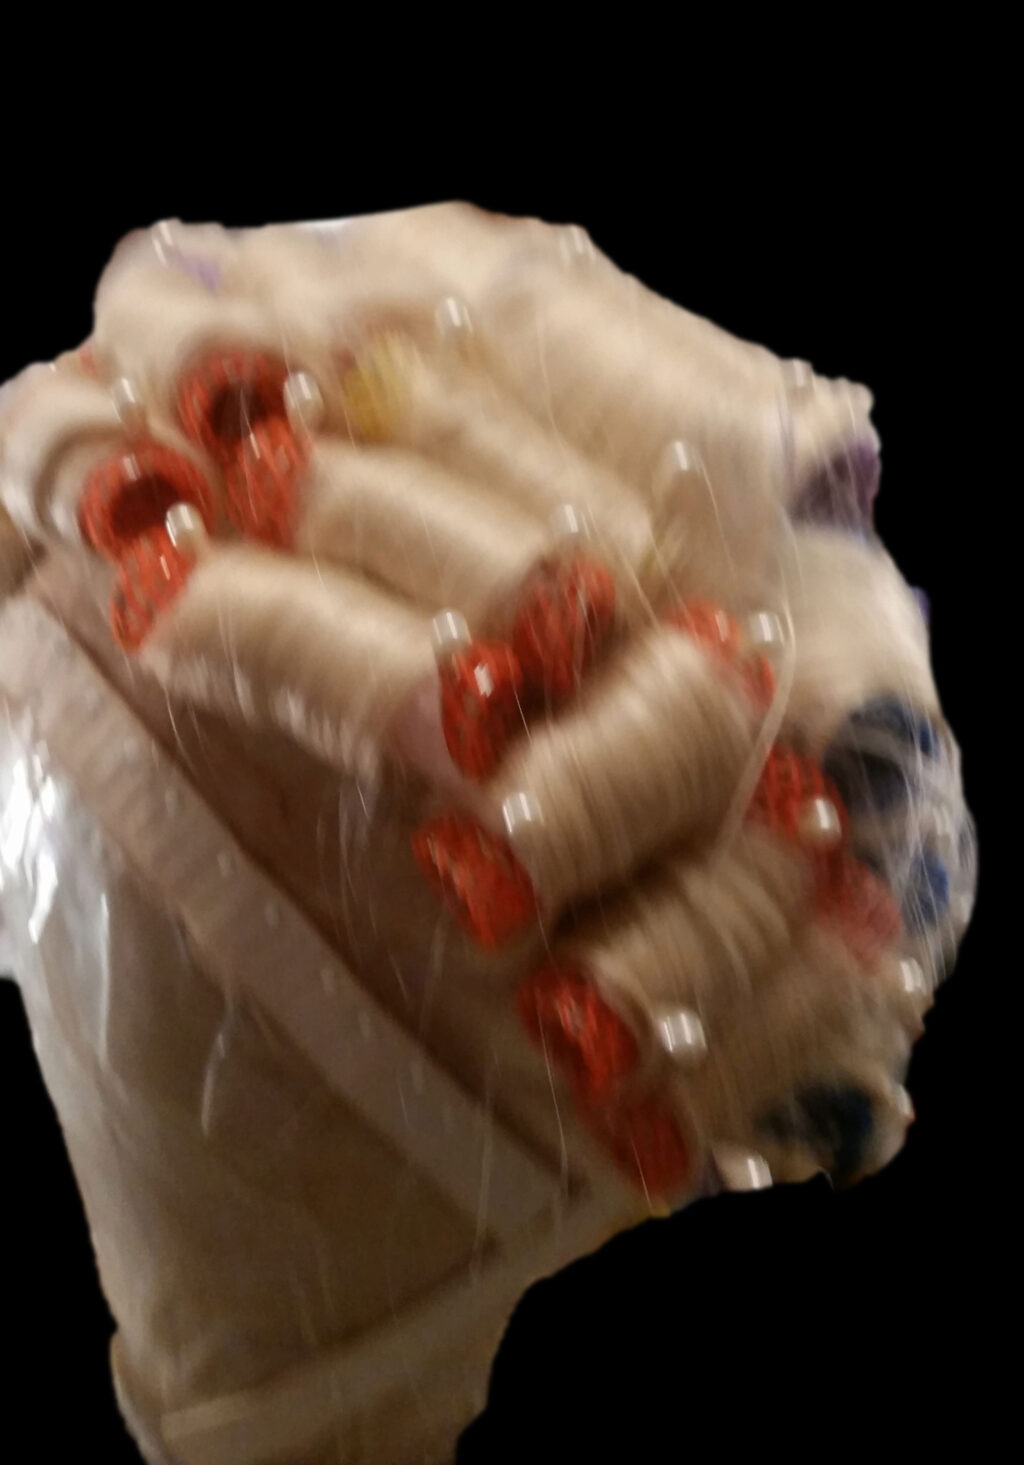
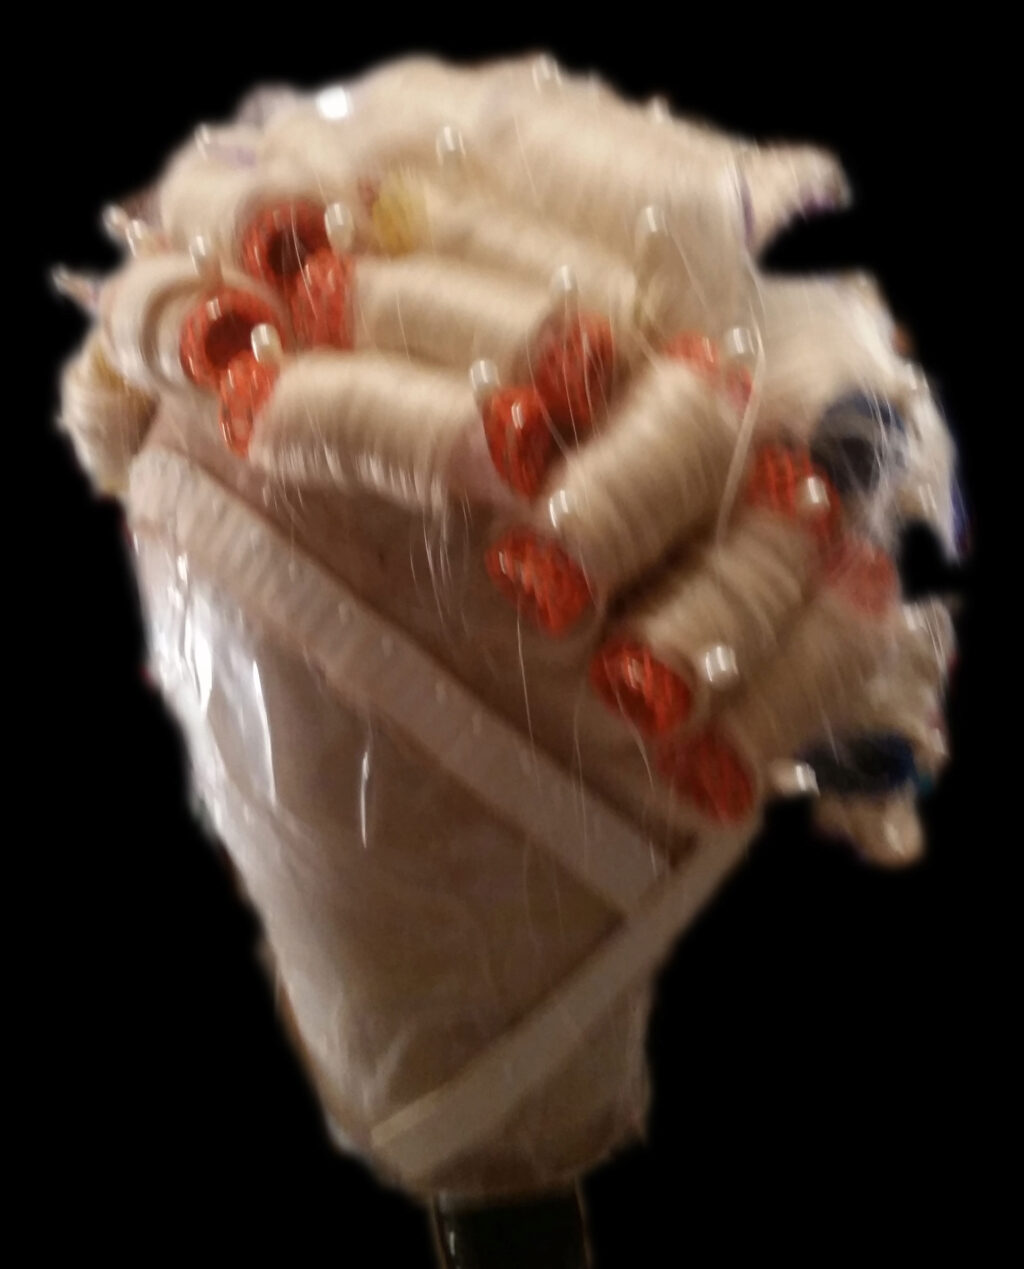
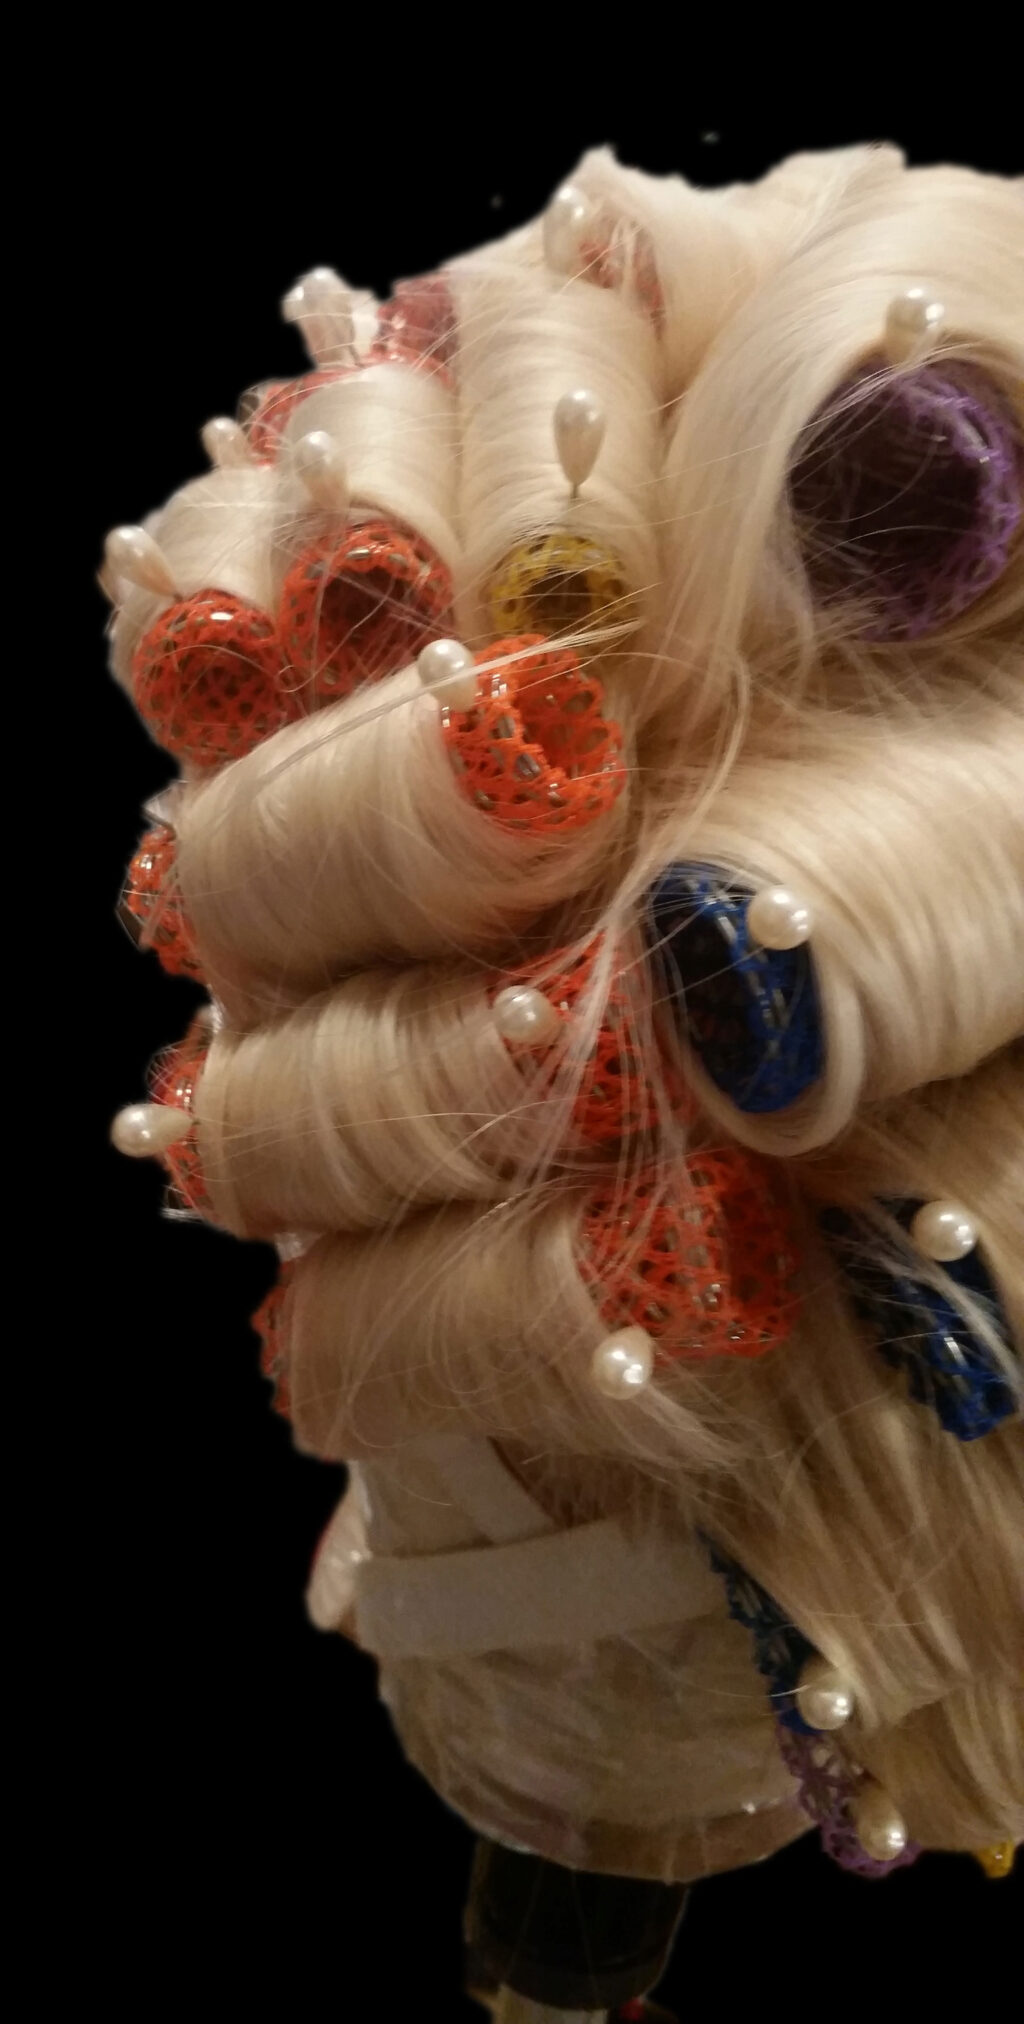
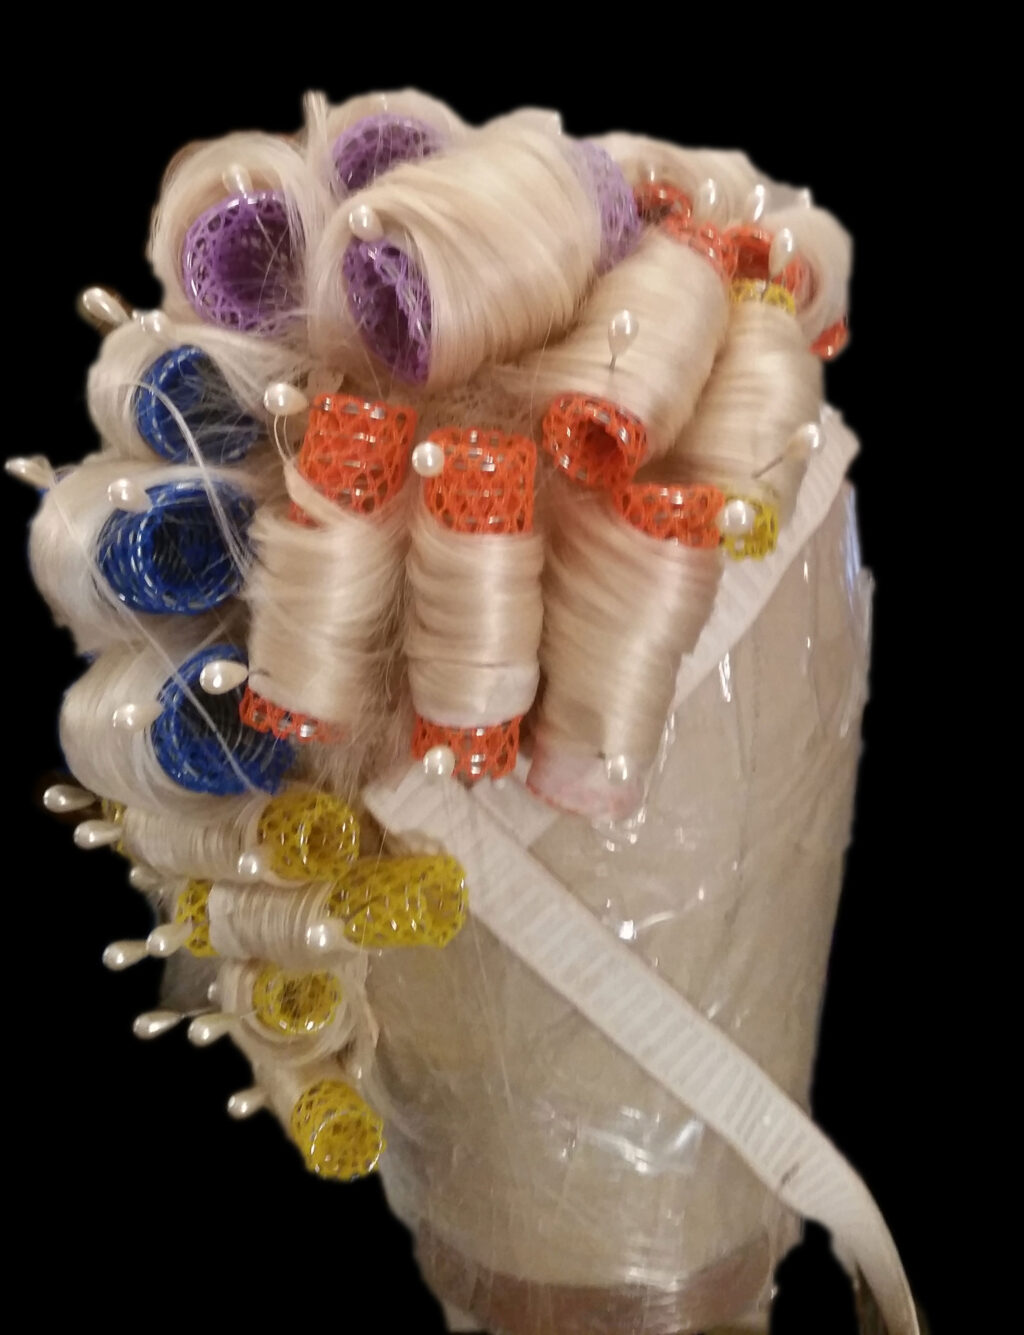
Once you've done this, steam it as I described earlier, and then give it a couple of days to dry.
The Tease
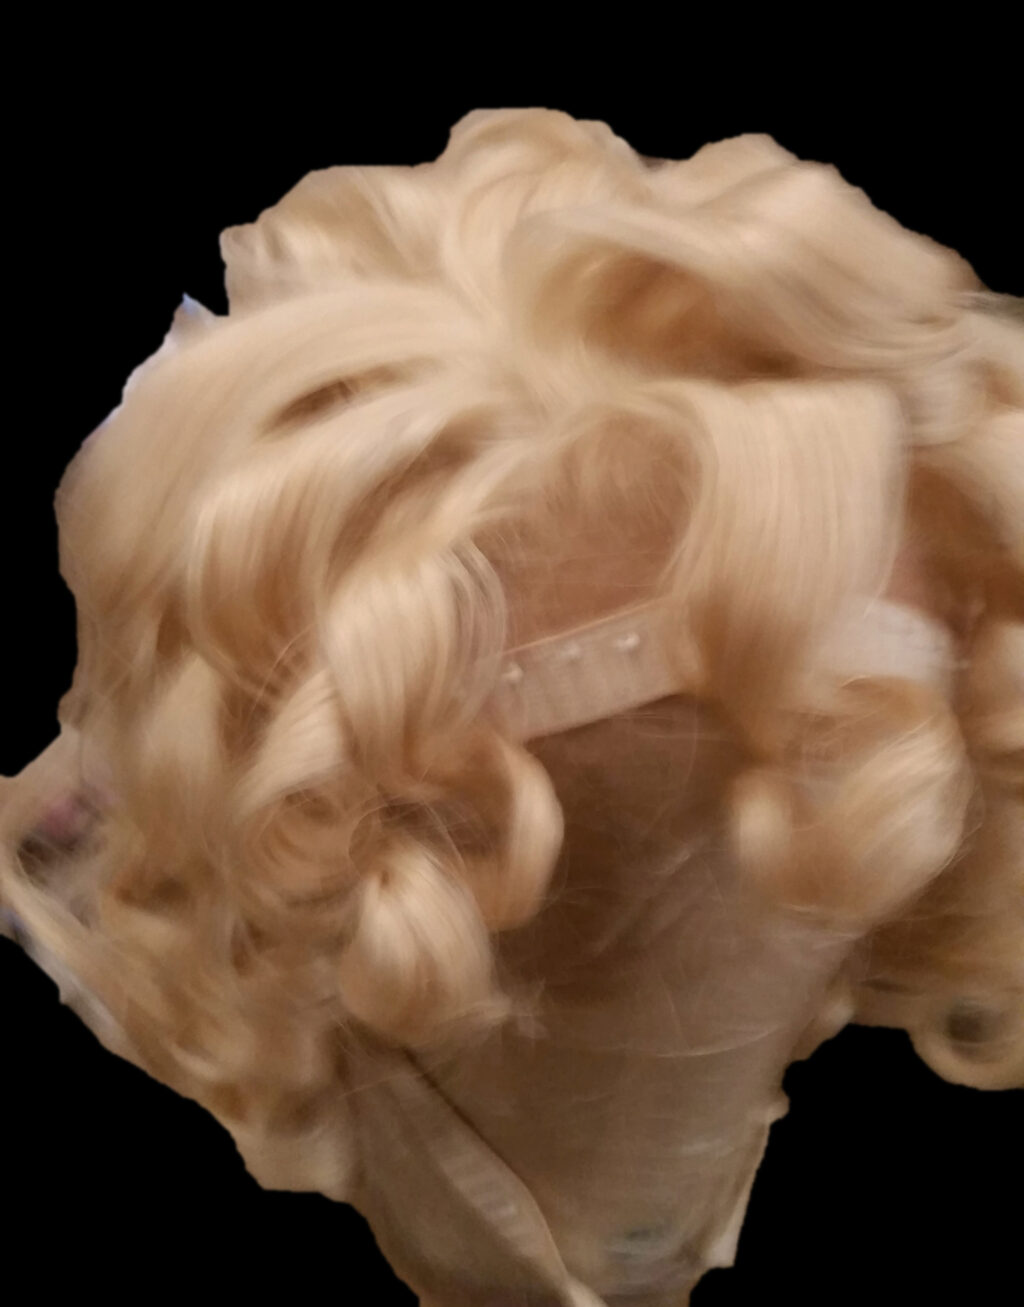
Now that the wig is dry, remove the rollers. I think it's best to start with the lowest rollers and move up. If you work from the top down, you risk the hair hanging down and getting tangled in the lower rollers. Here are some photos of how the wig looked just after I removed it from the rollers:
Now we want to tease the hair. Tease down to the root, about 1/2 way down the strands. You always want to tease the side that will be "hidden." For example, I will comb the top front of the hair up and back from the front of the wig. You don't want to tease on the front side of the hair because that would look awful. Instead, tease on the opposite side, in this case, behind the front of the hair. You'll notice that the hair falls naturally into tiny sections, divided by the rollers. We don't want that, so as you tease, tease these sections together, keeping the basic plan intact. In other words, tease the top sections together, then tease the side sections together. Don't tease the top and side together. One final "tip": Sometimes synthetic hair doesn't tease easily. If you find that to be the case, use a bit of light hairspray as you tease. That helps. Here are some photos of the wig post teasing:

The Style
Start with the top "roll". Smooth the hair with your brush and pull it tightly up, then use a heavy hairspray (I use Got2b Glued) to make it stand up. It helps to immediately use a hair dryer to "cement" everything into place. I do this hair dryer trick everywhere I spray. Once the hair stands up, use the brush and your hand to form the roll and smooth it over beautifully. Take your time with this and get something that looks as nice as possible.
Then take a small strand of hair from the right front (your left, as you face the wig) and clip it out of the way. We will use this to integrate the top and right sides of the wig later.
Moving to the left side of the wig, brush it down, careful not to get rid of the tease, but just smooth and shape it into a beautiful big curl, hanging horizontally from the top of the wig, with your hands and brush.
For the right side, brush it directly back, sideways along the head, then holding the hair, put in two or three bobby pins to hold the hair in place (make sure the bobby pins "chain" with each other, so they lock into place). Then spray it, take the remaining hair from the side, and bring it forward and around, making a nice big curl and hiding the bobby pins. Spray it well, so it stays in place (remember the hair dryer trick!). There's an empty spot between the top front roll and the right side. Curl and brush the reserved hair we clipped into place, and gently insert it into the curl we just made on the right side so the hair looks like it all belongs together. And of course, spray, spray, spray!
These are the hardest bits. Just smooth the section where we had the purple rollers down for the rest, so it looks beautiful. And for the yellow rollers, we won't spend too much time smoothing. Instead, we use a 'flicking' motion to get the hair to move up in a nice, lifted bounce. Flick from under the hair, upwards, then spray the crap out of everything.
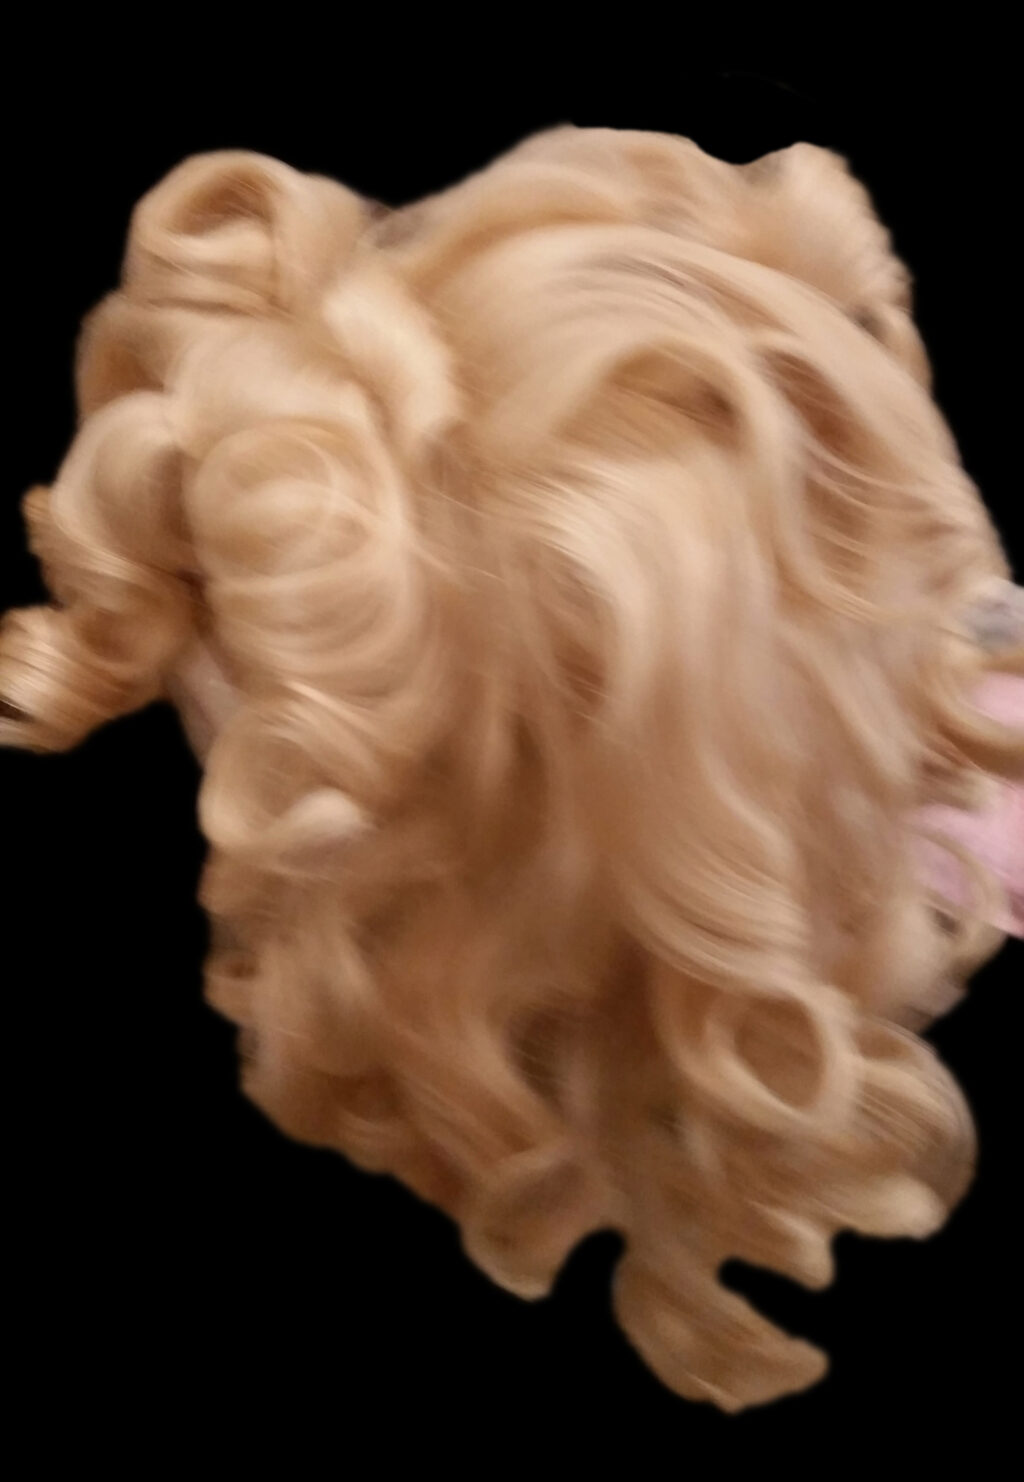
And that's it! Here are a few pictures of the finished wig from various angles:
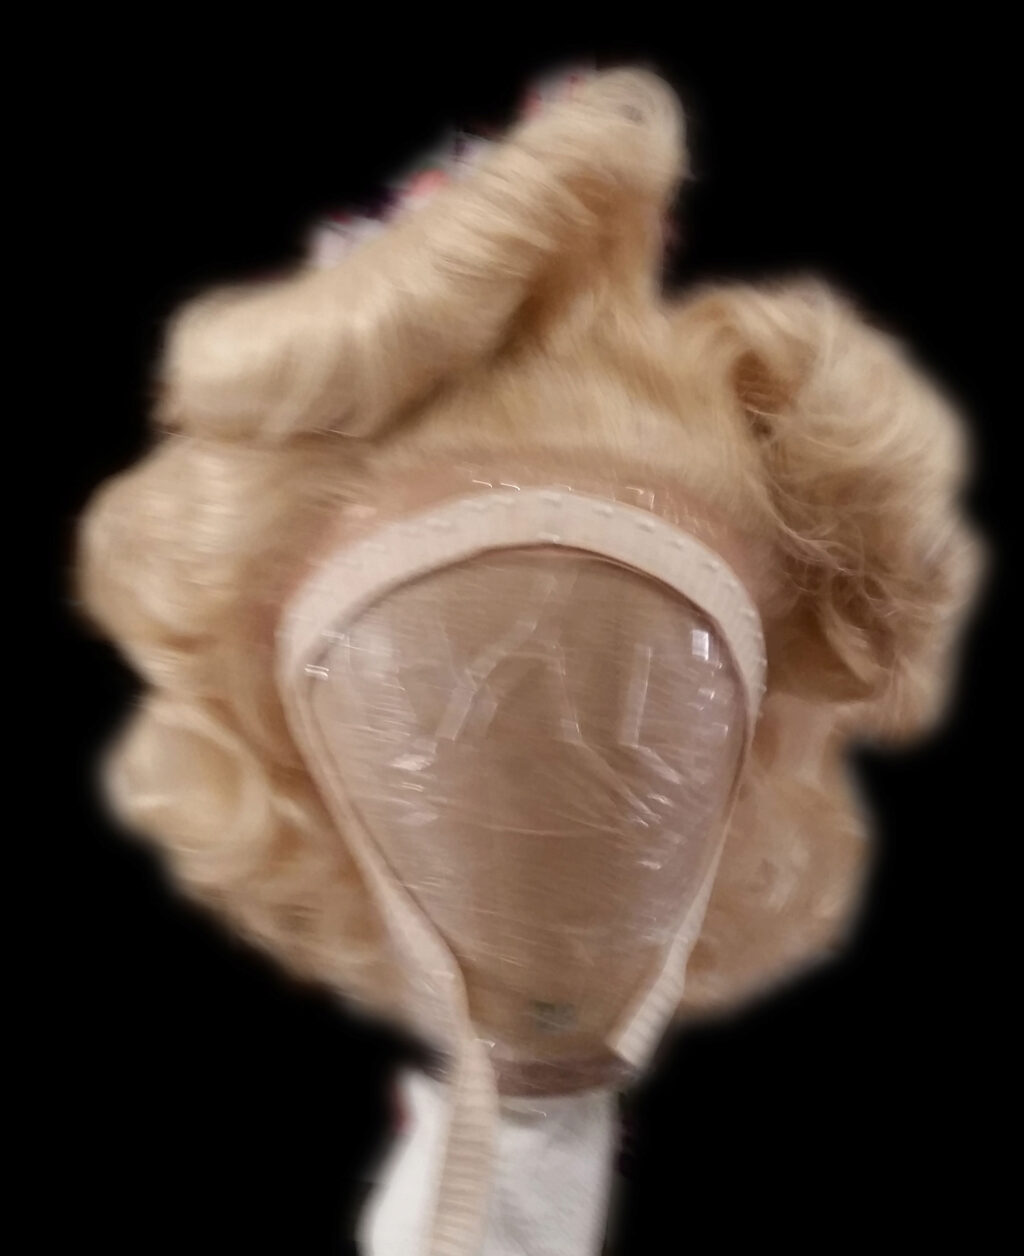

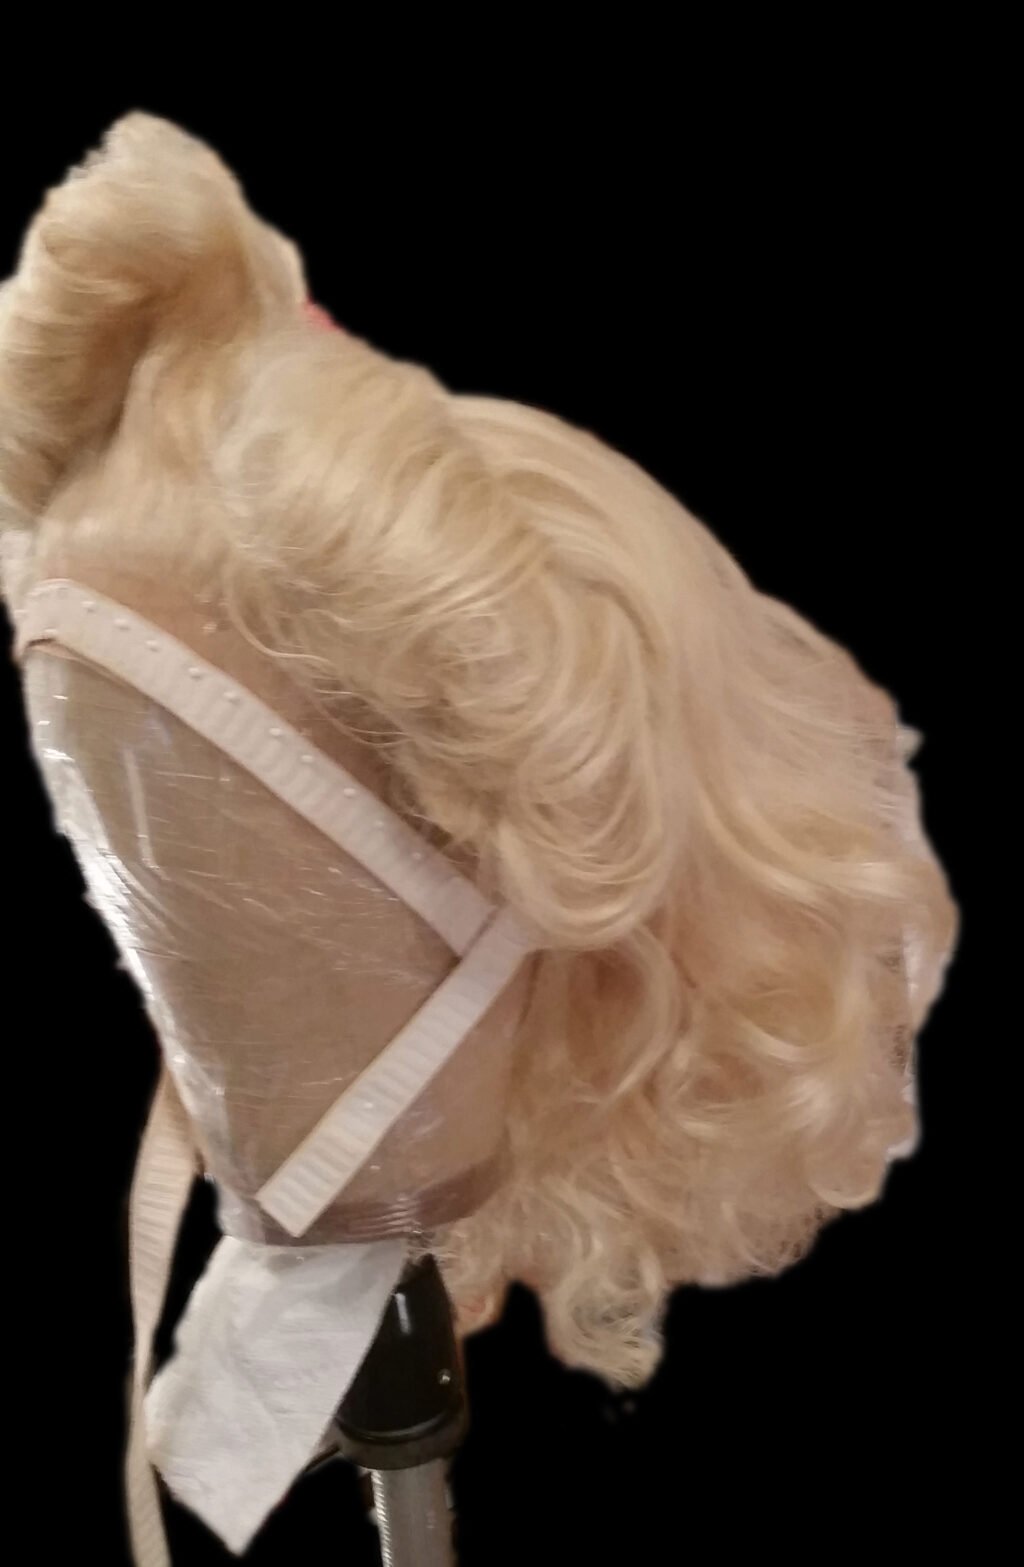

That's it! I hope you found this helpful. I have to say, learning how to do this was a lot of fun, and I hope this helps you to find some cool, fun things to do with your wigs. Thanks for reading, and if you have something nice to say or a good idea or suggestion, feel free to write me. I always love hearing from you!