Creating and wearing this wig was an assignment from Dom de Luxury. It's part of her bimbofication program, and you must admit it is effective: What says Bimbo more than a wig in the shape of a cock?
This was challenging but fun to make and wear. I believe SheDaddy was very happy with how it turned all turned out. You can see pictures of the completed look in my gallery.
If you are being bimbofied by her, you could end up with the same or a similar task. If so, this article could help you out! Or you might be curious about how to do this sort of thing. If so, read on!
The techniques I use to build this wig are not original to me. Wig makers have used them for centuries. There are some pretty interesting books about this, and I spent a lot of time reading them. I was most impressed with Allison Lowery's books , and I commend them to your attention. Reading these books will help teach you exactly how much you don't know about hair and wigs. Thanks to her, I learned enough to create The Bimbo Wig.
What You Will Need
It's surprising, but you won't need many things to make this wig. You should be able to do this for less than $20 or $30, depending on what you already have on hand. Here's a list:
- A wig. Obviously. You will want a wig with long hair because you will need to bring the hair up and cover the frame you will build. It will need a lot of hair. Some of the cheaper hard or lace front wigs might be too thin for this project.
- 18 gauge milliner's wire. I got this for $7.00 from Amazon. This is a cloth-covered wire used by hat makers (milliners) to create interesting hats. It also has many other uses.
- Floral tape. I got this for $4.20 from Amazon.
- A curved needle. Straight needles make it much harder to sew the frame to the wig. They will work fine for attaching the netting to the frame. Curved needles are easy to find at any sewing store.
- Thread. The thread should match the color of the wig as closely as possible. I use Coats and Clark Upholstery thread, but any sturdy thread will do the job. If you can't find Coats and Clark in your town, you can get it for a very reasonable price from Bobbie Pinz.
- Nylon netting. It isn't costly, and you can get this from any decent fabric store. Most fabric stores have a minimum order of one square yard which is way more than you need. Save the unused netting for future assignments from Dom de Luxury. Try to find a color that will blend in with the wig as best you can. If you can't find an exact color match, go for a deeper shade. Brighter ones will be more visible.
- Hair Spray. Extreme hairspray. The stuff I use is called "got2b glued blasting freeze spray". This stuff is strong. Hair sprayed with that is not going anywhere. You can find it in most drugstores and beauty shops.
Constructing the Frame
 Now that you have all the materials, you can construct your supporting frame. Bend the wire into the desired shape. Where the wires cross, use the thread to stitch them together, then cover the stitching with the floral tape. You will want to wrap some around the shaft of the cock so that it has some support.
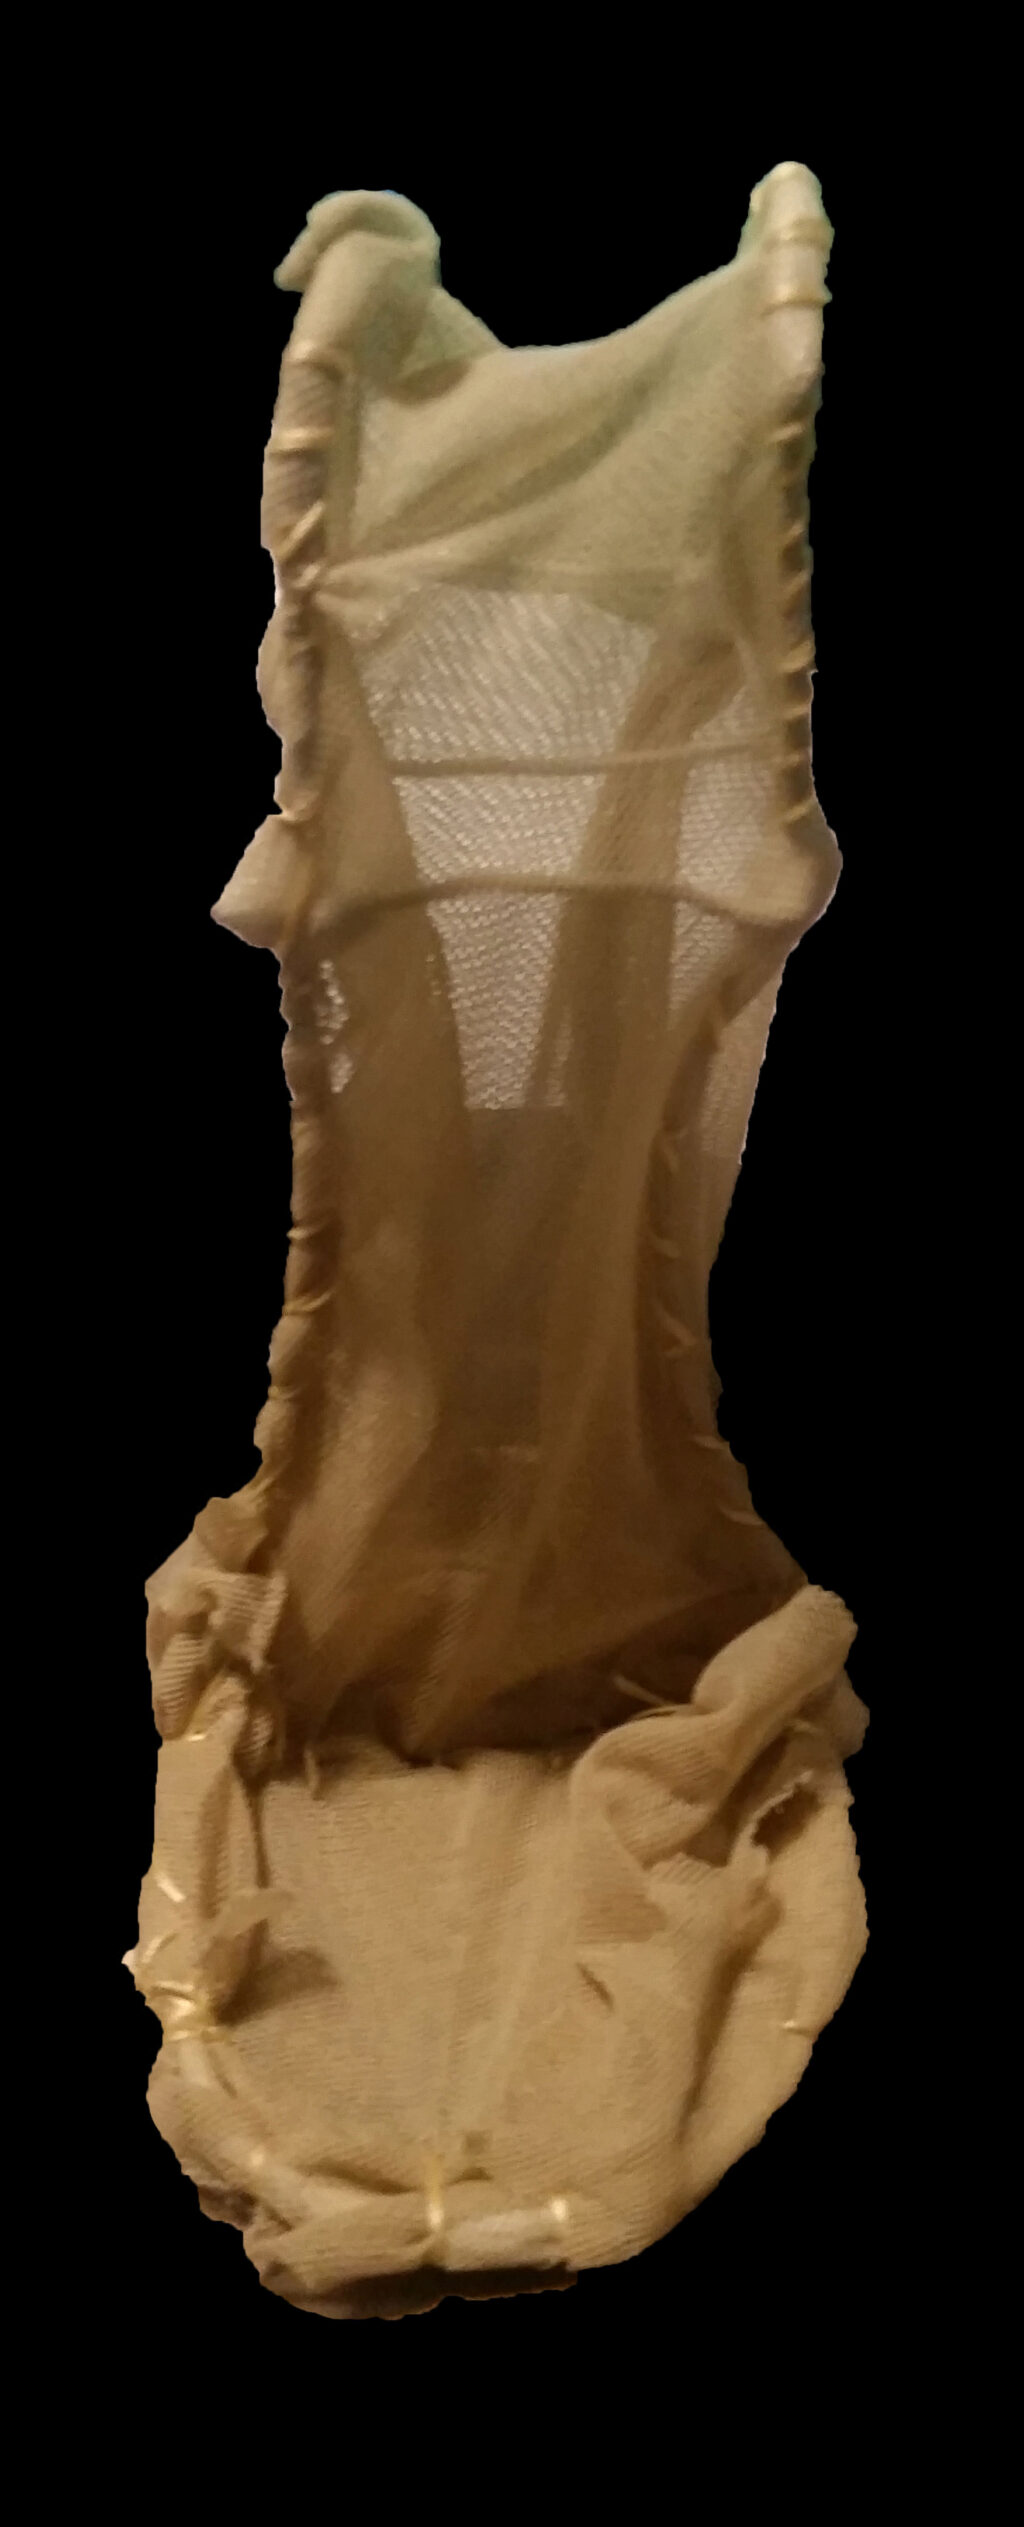
Once your frame is assembled, cut out some netting and sew it to the frame with a whip stitch. It would be best to make it tidy, but strength is more important than appearance. Remember, you will cover it with hair. The netting is there so you can attach the hair to it. It also reinforces the frame.
I took the photo of the frame after removing it from the wig, so it looks a little battered, but this should give you a good idea of how the finished frame should look. Notice that the netting color is similar but darker than the actual color of the wig. It held up well during the session, with no problems at all!
Attaching the Frame to the Wig
 You need to attach the frame to the wig. First, block the wig. Getting the wig aligned and centered on the block is crucial. You will be sewing the frame onto "the top of the head," and if the wig isn't properly aligned on the block before you sew, you will sew the frame on off-center. You won't notice this until you put it on and see that the hair looks like the Leaning Tower of Pisa!
Once your wig is securely blocked, figure out where you want to attach the frame. It should be toward the back but still on the top of the head. Once you know where you want it, use some large pearl head pins to fasten it securely to the block.
Now, sew the frame to the wig using your curved needle. Be very careful you don't also sew the frame to the block!
Create the Hair Style
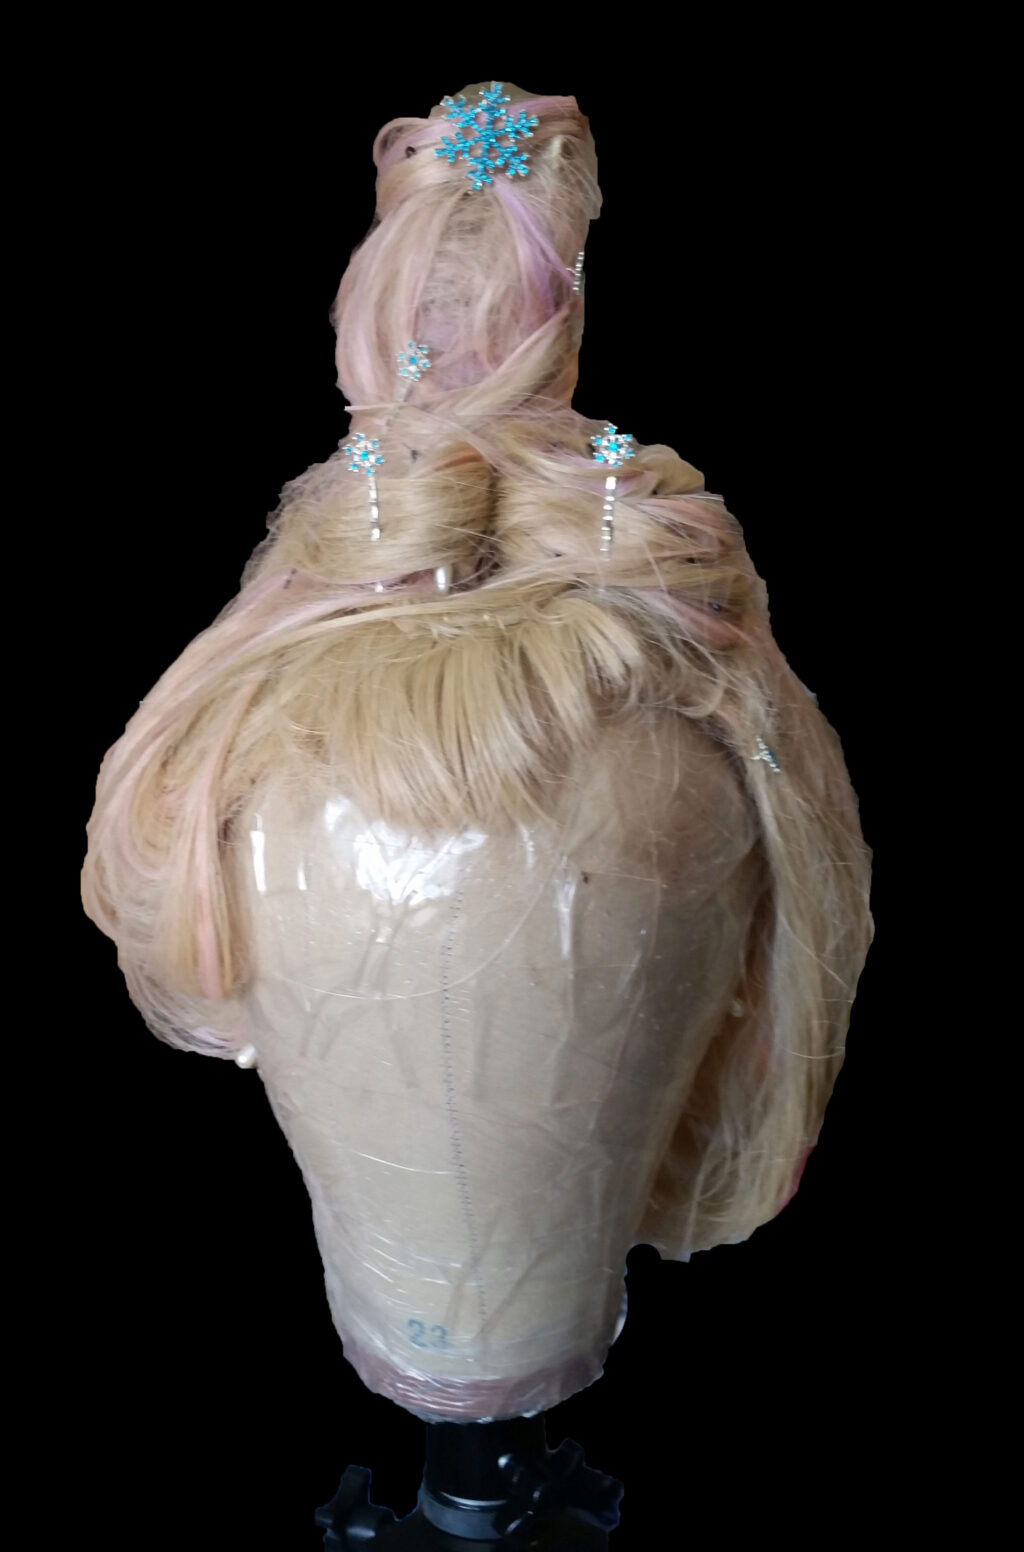 Now style the hair. Starting from the back, wrap hair around the shaft, pinning it to the netting as you go. Make sure that you cover all of the actual frame and netting! Leave enough hair on the sides so you can create curls to simulate the two "balls' in the front. I teased the hair at the "tip" to give more volume. If you have decorative pins, feel free to use those. I used the ones I had from the "Elsa" look. To help secure the hair, spray it like crazy with the Got2b Glue spray. If the spray flakes, mist it with a little alcohol to reactivate it.
Using only pins and no sewing, the wig held up extremely well for the entire session with Dom de Luxury. However, if she wants you to keep this as your permanent hairstyle, I recommend sewing it to the frame since the pins will not hold indefinitely. Pin it first to get an idea of how you want to do it, then sew. The picture shows the finished wig, still on the block.
For my face, with this piled-high wig style, I felt I looked better with an asymmetrical structure to the wig. You'll notice the left side of the wig (the right side in the picture, as you face it) is lower than the right. That worked out well. I recommend giving some thought to your overall look before you start piling the hair on the wig to create the cock.
Cleaning it up
When you have finished with the wig, reverse the steps. Take out all the pins and remove the frame using a seam ripper to undo the stitches. Save the frame for another time. Comb out the hair and see how it looks. Depending on how much hairspray you used, you might need to wash the wig.
That's it! I hope you found this helpful. Thanks for reading, and if you have something nice to say or a good idea or suggestion, feel free to get in touch - I always love hearing from you!