Harley's signature boots, which Jeremy Scott created for Adidas, are amazing! Unfortunately, when I tried to buy some, they were no longer available. There were a few knock-offs, some closer, some farther away from the original, but none in my size. And there were huge problems with all of them. The heels were too low, and the coloring was off; none of them captured Harley's spirit. I don't have the equipment or knowledge to build a high-heel boot from scratch, but I decided to try and mod one. I felt that, at worst, I would come close to one of the knock-offs. While I didn't duplicate the original exactly (and didn't try, it wouldn't have been possible with what I started with), I did come close, and I'm thrilled with my result.
What I started with.
- Boots
- Hot Glue Gun
- Scissors
- Seam Ripper
- Grommet Kit
- Leather Paint
- Shoe laces
Depending on what boots you start with, you may need more or less than this.
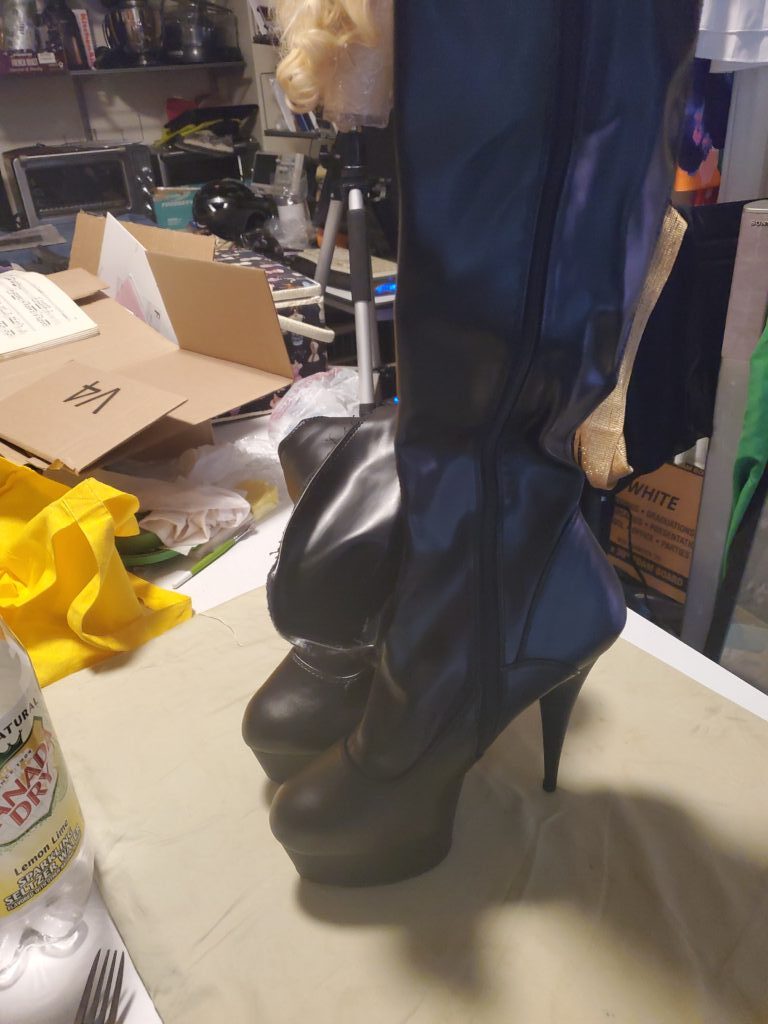
I searched far and wide for the right boot. There were several good candidates, but there were shoe shortages during the pandemic, and most were not in stock. The boot I chose was pretty far away from what I wanted. It was black, not white; it had a zipper, not shoelaces; these were serious problems. But I thought the boot's shape was correct, and I liked the heel and curve of the shoe. They seemed on the right track. So I bought it. It was the Pleaser Delight-2000. Here's a link to the pleaser product page and here's a picture of the boots before I started to work on them:
Initial Alterations
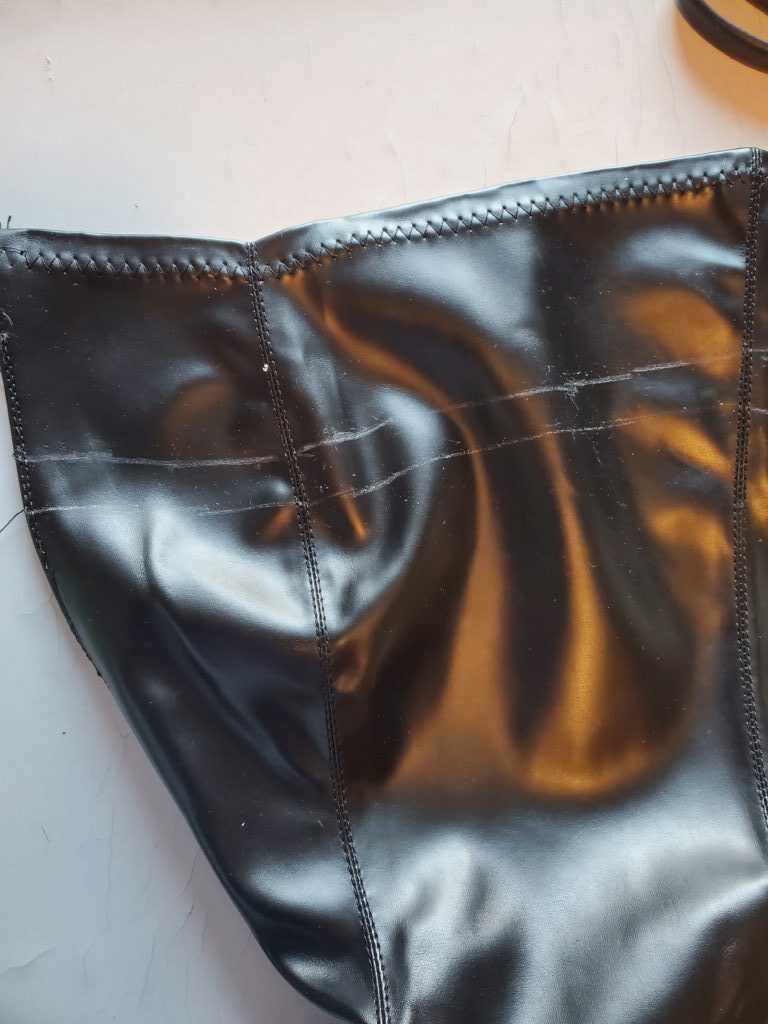
I could describe what I did in more detail, but unless you start with the same boot, details probably won't help you. Instead, I'll just hit the main points of how I reshaped them. Adjust as needed for your boot. The boots are too high, so I needed to shorten them. I needed to remove the side zipper, somehow attach those sides, and cut an opening in the front. I also needed some way to attach a place for shoelaces and grommets. I didn't want to sew the boot, mostly because I wasn't sure I could do it well, so I made all the fastenings with a hot-glue gun. I left enough in cutting for seam allowances around all the edges. I especially recommend that. Having seam allowances (which I finished with hot glue) make a much nicer finish than leaving rough-cut edges. For example, here's a photo of the guidelines I used to cut the top. I measured up from the bottom, trying to draw a parallel line with the current top, then I drew an additional line on top of that. The top line would be the cutting line, and the bottom would be the 'fold line' for the seam allowance, which would end up being the actual top of the boot:
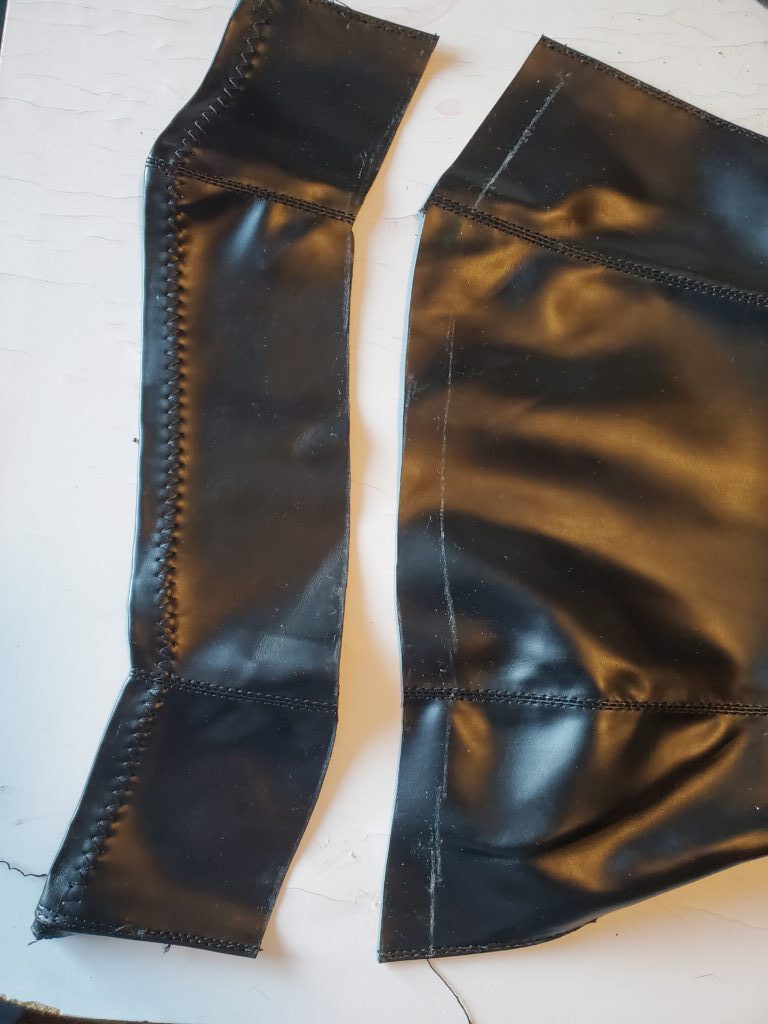
Once I did that, I removed the zippers from the boots with a seam ripper. Behind the zipper was a piece of leather which I saved and used to reinforce the seams with the glue gun. It worked quite well. Then I cut out the front part of the boot, creating a 'flap' from the existing boot top that the laces would go over. Here too, I left some extra to fold in for a nice seam allowance:
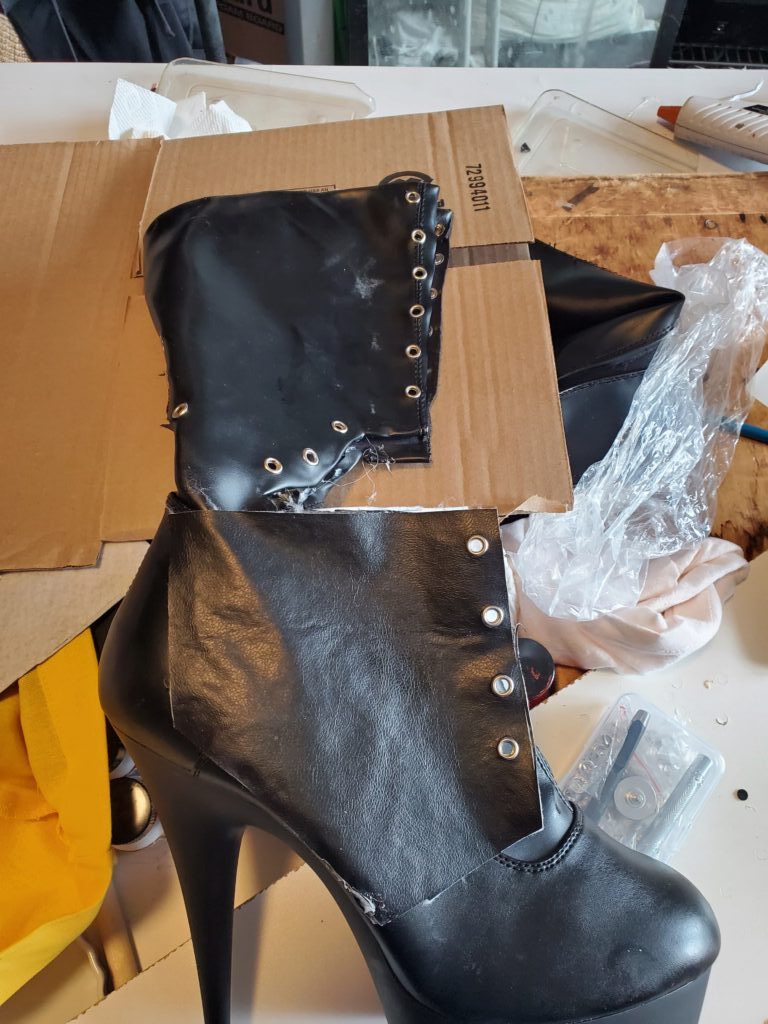
I cut out the unusual shape of the boot with its intricate curves. I couldn't duplicate it exactly because of the architecture of the original boot, but I got close. I bought some faux leather that matched the boot and shaped new sides with it. I then glued this to the sides so it could be the covering/flaps for the center of the boot. The final step was to add grommets for the shoelaces. I highly recommend this tool, which worked like a champ. Here's a picture of the first boot I finished:
I used this as a model to duplicate a second boot. Then all that remained was to paint them. I used leather paint, and it was quite a lot of work. The white paint required multiple coats before it could hide the color of the original leather. Each coat needed to dry for 12-24 hours, so progress was slow. The black and red had better coverage and required fewer coats, thank goodness! But eventually, I got it done. It was a happy moment when I put on white shoelaces and had boots that were ready to walk in:

These looked amazing when I was wearing them. There are some rough edges, but considering I had never done anything like this before, I am pleased and proud to see how well they turned out. I didn't think I would have anything close to this happy result. That shows that you don't know what you can do until you try.
That's it for the Harley Cosplay. SheDaddy was thrilled, and I was so happy. And I'm delighted by how much you guys seem to like it. I hope this answers your questions and maybe inspires you to try a Harley of your own or do a version of one or more of your favorite characters. If you have comments, please send the nice ones to me.